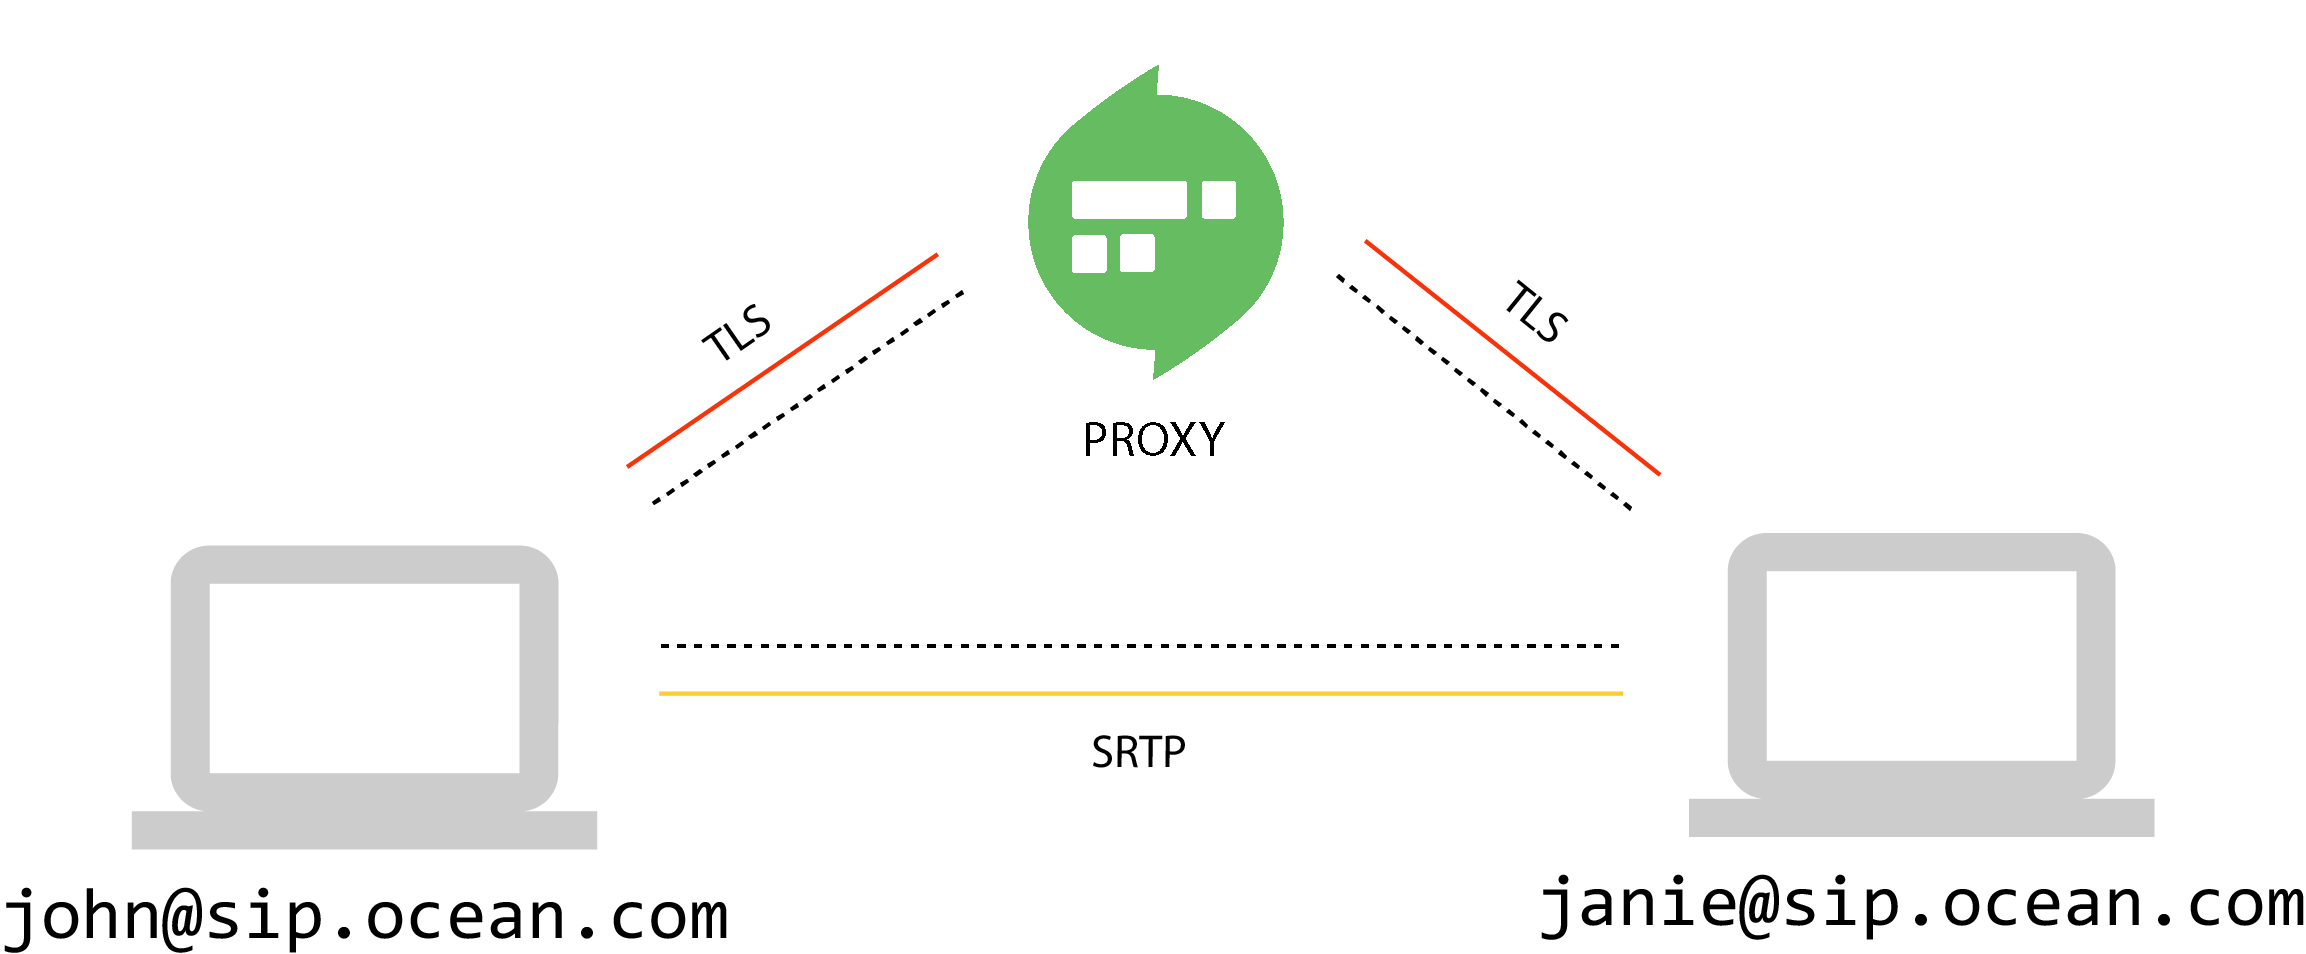
Securing the signaling path
Follow this guide to secure the signaling between your endpoints and Routr. Keep in mind that Routr only secures the signaling and that the endpoints are ultimately responsible for securing the media.
For this guide, we used a fictitious domain name to demonstrate the process of securing the signaling path
Creating a Java Keystore(.JKS) certificate
We need a keystore (.jks) to properly handling the certificates. The following steps create a valid keystore file using a self-signed method or using the free Let's Encrypt service.
Creating a self-signed Certificate
Perhaps the easiest way to create a valid certificate for Routr is using a self-signed certificate. To generate the certificate change into etc/certs in your Routr installation and run the following script:
keytool -genkey -keyalg RSA \
 -noprompt \
 -alias routr \
 -keystore domains-cert.jks \
 -storepass changeit \
 -keypass changeit \
 -validity 365 \
 -keysize 2048 \
 -dname "CN=sip.ocean.com, OU=OSS, O=Your Company Inc, L=Sanford, ST=NC, C=US" \
 -ext SAN=dns:sip.ocean.com,dns:localhost,ip:127.0.0.1
Remember to adjust the values to match your project's information.
WSSdoes not work with a self-signed certificate. However, you can add a security exception by usinghttpsinstead ofwssin your browser's search bar and then accepting the security certificate.
Creating a Certificate using Let's Encrypt
The recommended way to create a valid certificate for Routr is using the free service Let's Encrypt. Please go to https://letsencrypt.org/ for details on how to install the required tooling. To generate the certificate, use the following steps:
➊ Create keys
certbot certonly --standalone -d sip.ocean.com --email admin@sip.ocean.com
Change to the directory where we created the certificates(generally at /etc/letsencrypt/live/sip.ocean.com).
➋ Create a PKCS12 file containing full chain and private key
openssl pkcs12 -export -in fullchain.pem -inkey privkey.pem -out pkcs.p12 -name domains-cert.jks
Please make a note of the password since you need it in the next step.
➌ Convert PKCS12 to Keystore
keytool -importkeystore -srckeystore keystore.pkcs12 -srcstoretype PKCS12 -destkeystore domains-cert.jks
Installing the Certificate in Routr
To enable secure signaling in Routr, copy your certificate in etc/certs and edit the file config/config.yml to look like this:
apiVersion: v1beta1
metadata:
  userAgent: Routr v1.0
spec:
  securityContext:
    keyStore: etc/certs/domains-cert.jks
    trustStore: etc/certs/domains-cert.jks
    keyStorePassword: 'changeit'
    trustStorePassword: 'changeit'
    keyStoreType: 'jks'
    debugging: true                  # Enabled debug only for testing
  transport:
    - protocol: tls
      port: 5061
...
If you set the property spec.securityContext.debugging to true, you can get some valuable information about the status of the configuration. You can also test your configuration using the following command:
openssl s_client -host 192.168.1.2 -port 5061 # Remember to use Routr's IP
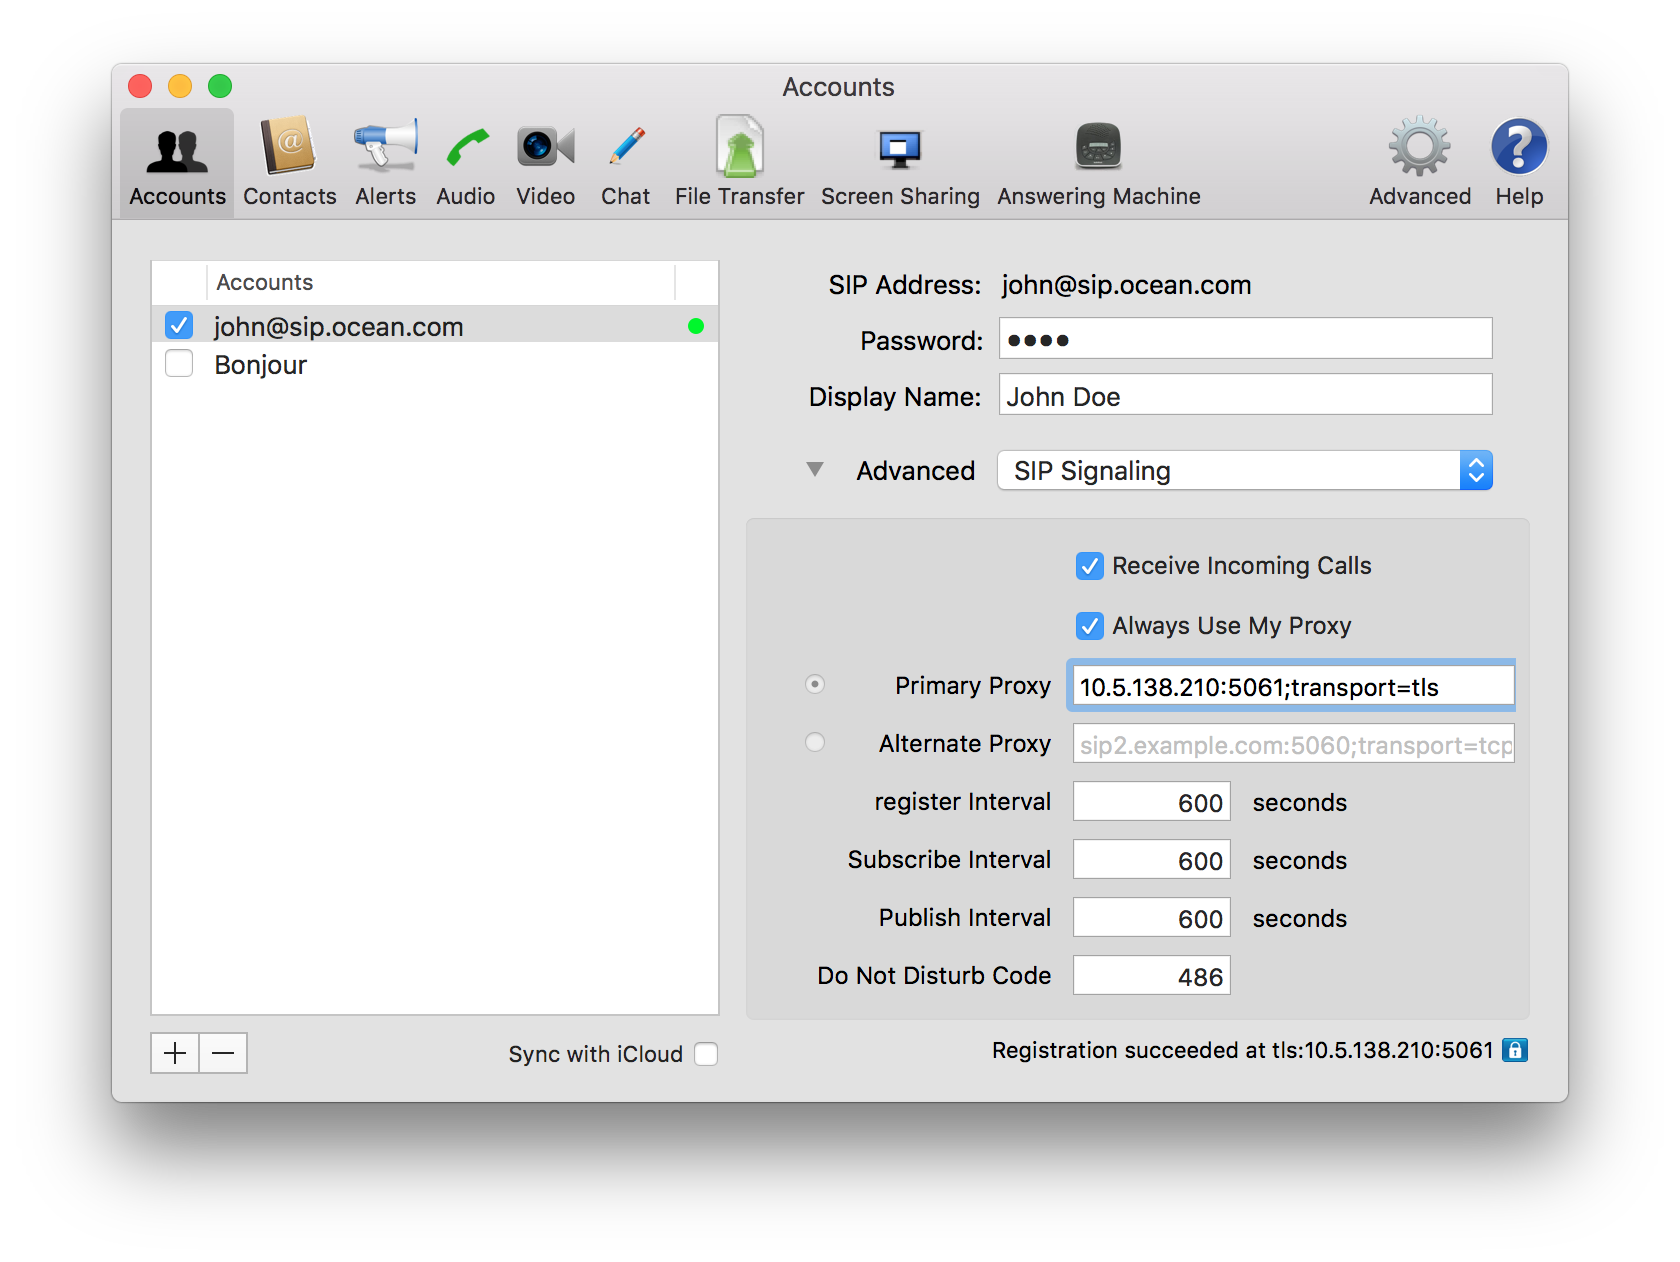
Setting up the Sip Phones
For this guide, we are using
Blink Pro.
Go to the account that you want to secure, select Advanced -> Sip Signaling and change the parameter Primary Proxy to ${proxyHost}:${proxyPort};transport=tls. See the example in the following image:
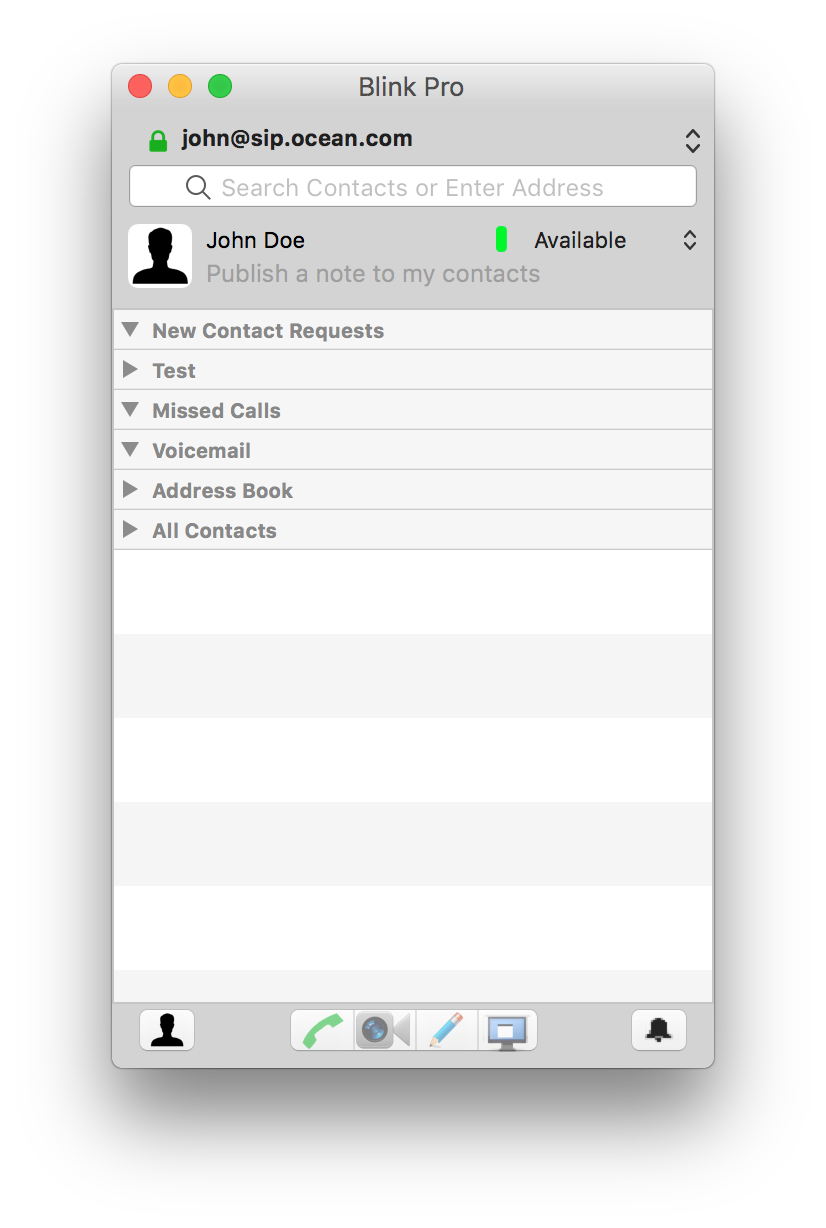
If everything went well, you should see a green padlock like the one in the image below: